Remodeling a home can be stressful, even if you’re a professional and especially if you’ve never done it before. There are so many things to think about, consider, so many choices to make, and things to buy and pay for.
So where do you start? Google? Ask a friend who they used? Your best bet is to have a plan of action but keep in mind that overly strict adherence to this plan will most likely cause more stress. My advice is to trust a professional to help guide you. This is what they do for a living and more importantly, this is their passion.

Here are the steps to remodeling a kitchen. This step-by-step guide will help you no matter the size of your kitchen. Small kitchens might have less square footage but have all the same features like a large high-end one.
Timeframe - Having a date in mind for completion is key. But keep in mind things happen. My advice here is to add a buffer of 3 weeks to your project. Trying to cram in a remodel before the holidays is very unwise and I do not recommend it. A full kitchen remodel can take up to 8 weeks if there are delays such as cabinetry delivery or emergencies or contractors getting sick. These things happen, and it’s better to plan ahead than to regret a breakneck schedule.
Budget - Depending on the scope of work you can expect a kitchen remodel to range from $4,500 to $50,000. A lower budget remodel take a little more planning to pull off to stay on target. You will not be able to find new cabinetry for less than $8,000 and painting cabinets the correct way isn’t much cheaper than getting new. Consider your end goals and really look at what you want to put into your kitchen vs what you’ll settle for.
Team - Your team is what will help ensure your success in a project like this. There are three routes to take for doing a remodel. DIY, General Contractor, and a combination of both. If you're doing everything DIY, you’re still going to need advice, resources, and often times a second pair of hands. Make sure you know what you’re getting into before you tackle a job like this alone. If you’re hiring a general contractor, make sure you look at their portfolio and references not just reviews and pricing. A portfolio will tell you a lot about their quality and references will tell you a lot about their dependability. A good rule to go by is “You get what you pay for” and this is very true. Sometimes the least expensive quote is that way for a reason and you might now want to find out why.
Team to hire - Interior Designer, Project Manager, Flooring installers, Drywall, Painters, Tile installers, Plumber, Electrician, Cabinet installer, Countertop installer, Window installer or a General Contractor.
Create a Schedule - Believe it or not, there is an order of operations to the madness that is remodeling. If you are doing a simple facelift there is less to do but the full scope of work should follow this order. Your remodel calendar really starts once the cabinetry order has been placed. You will have a few weeks of design and selection that needs to be done before this clock starts ticking. One of the reasons I recommend you add 3 weeks buffer to your remodel end date.
Overall design meetings with an Interior Designer and finish selections such as colors, granite, flooring, paint, lighting, and hardware. Pull permits if needed.
Place your Cabinetry order and Window order. Demolition. Framing. Insulation. Siding. New electrical wiring. Window installation. New drywall and painting. Flooring installation. Cabinetry installation and cabinet hardware installation. Countertop installation. Backsplash/Tile installation. Appliance installation. Plumbing installation. Lighting fixture installation. Cleaning.
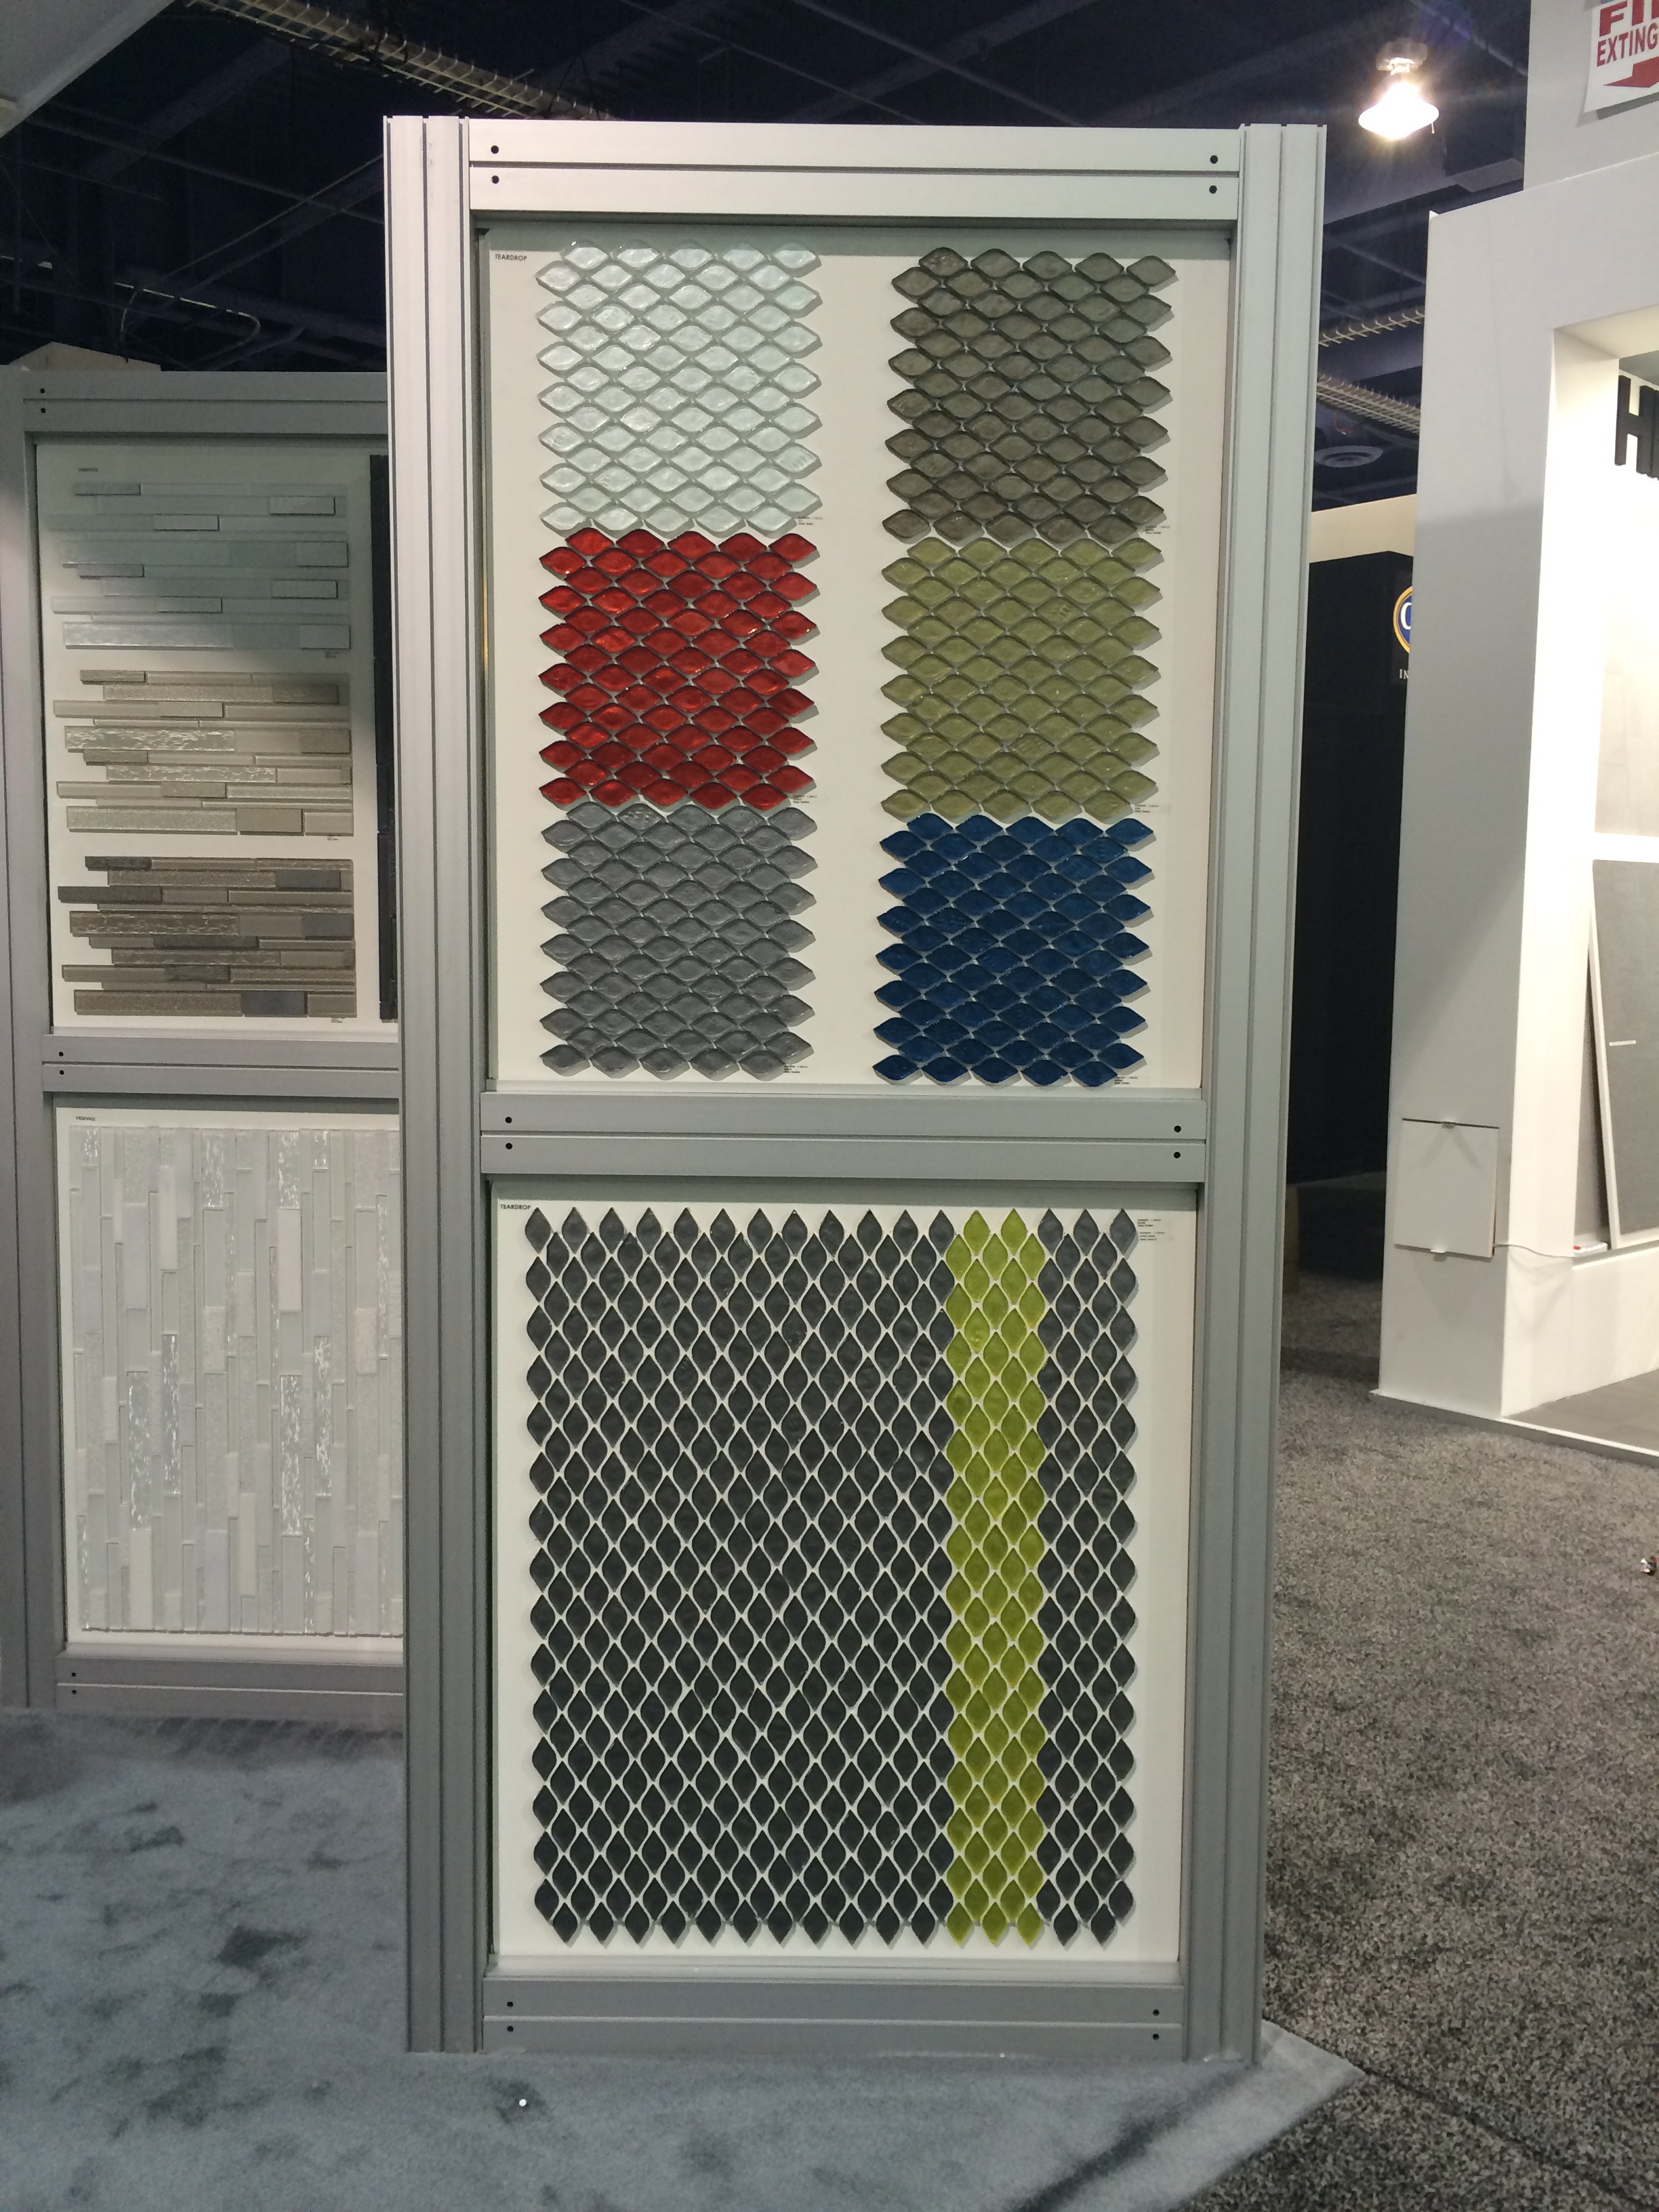
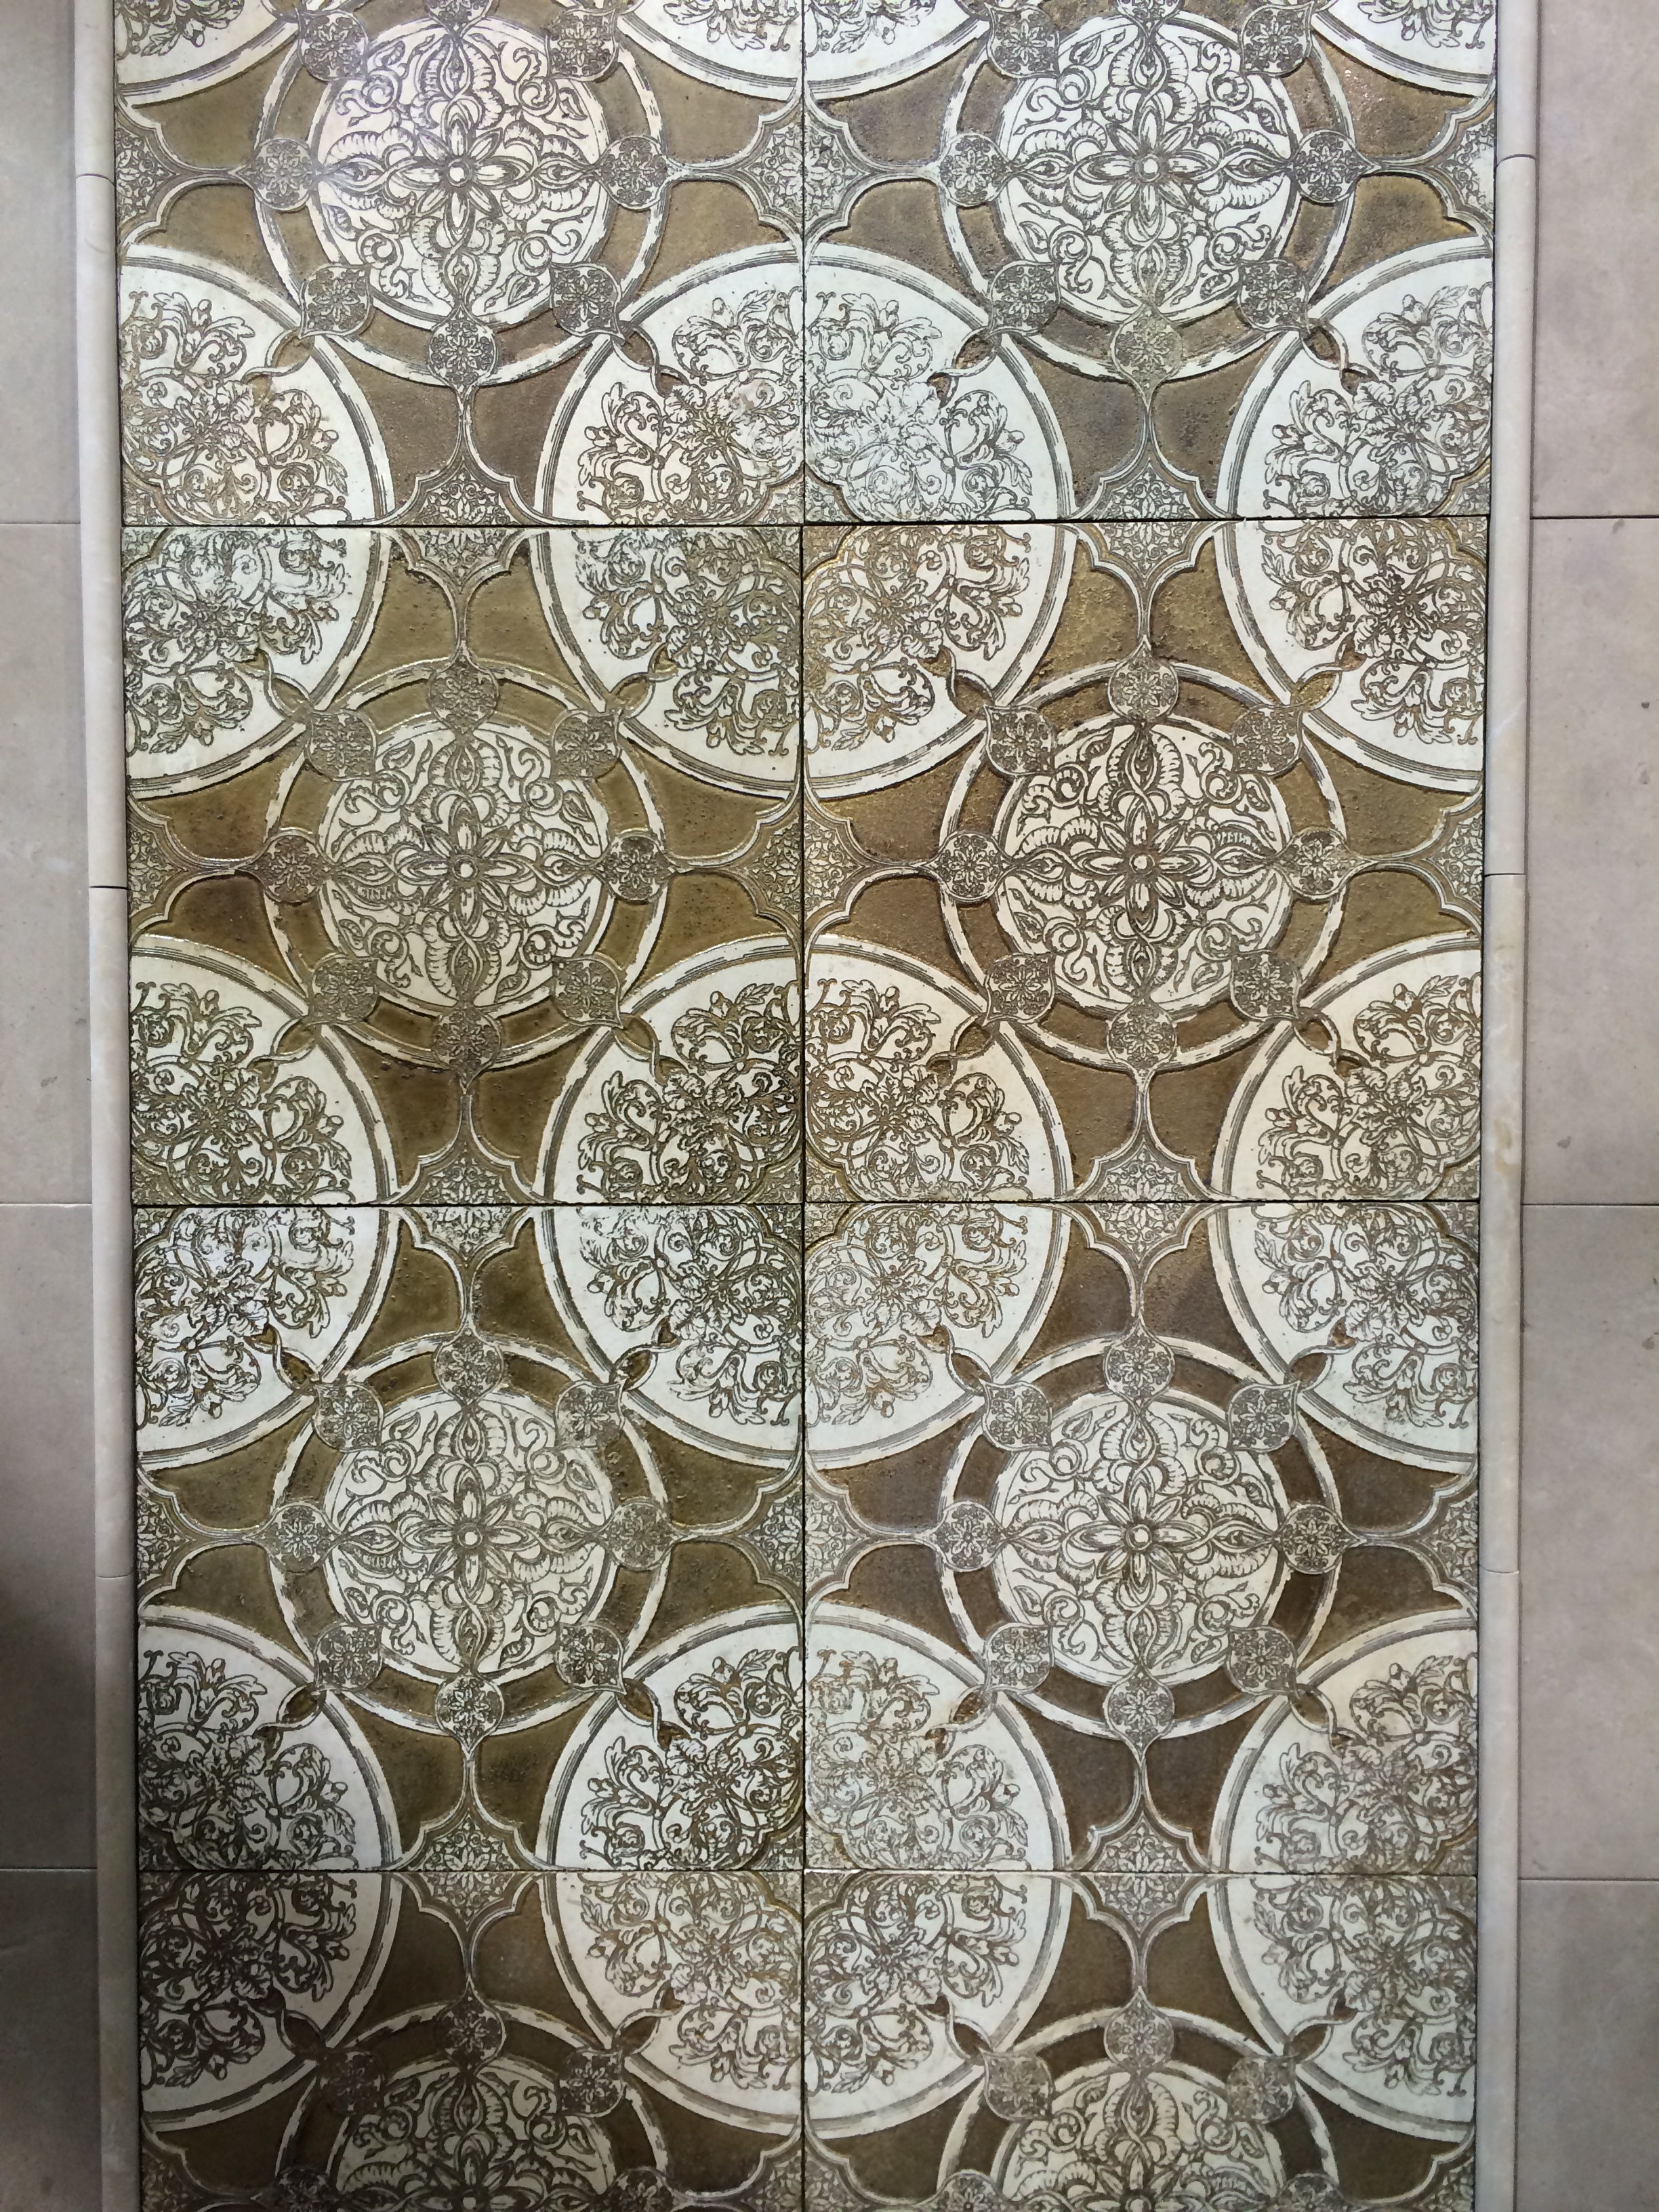
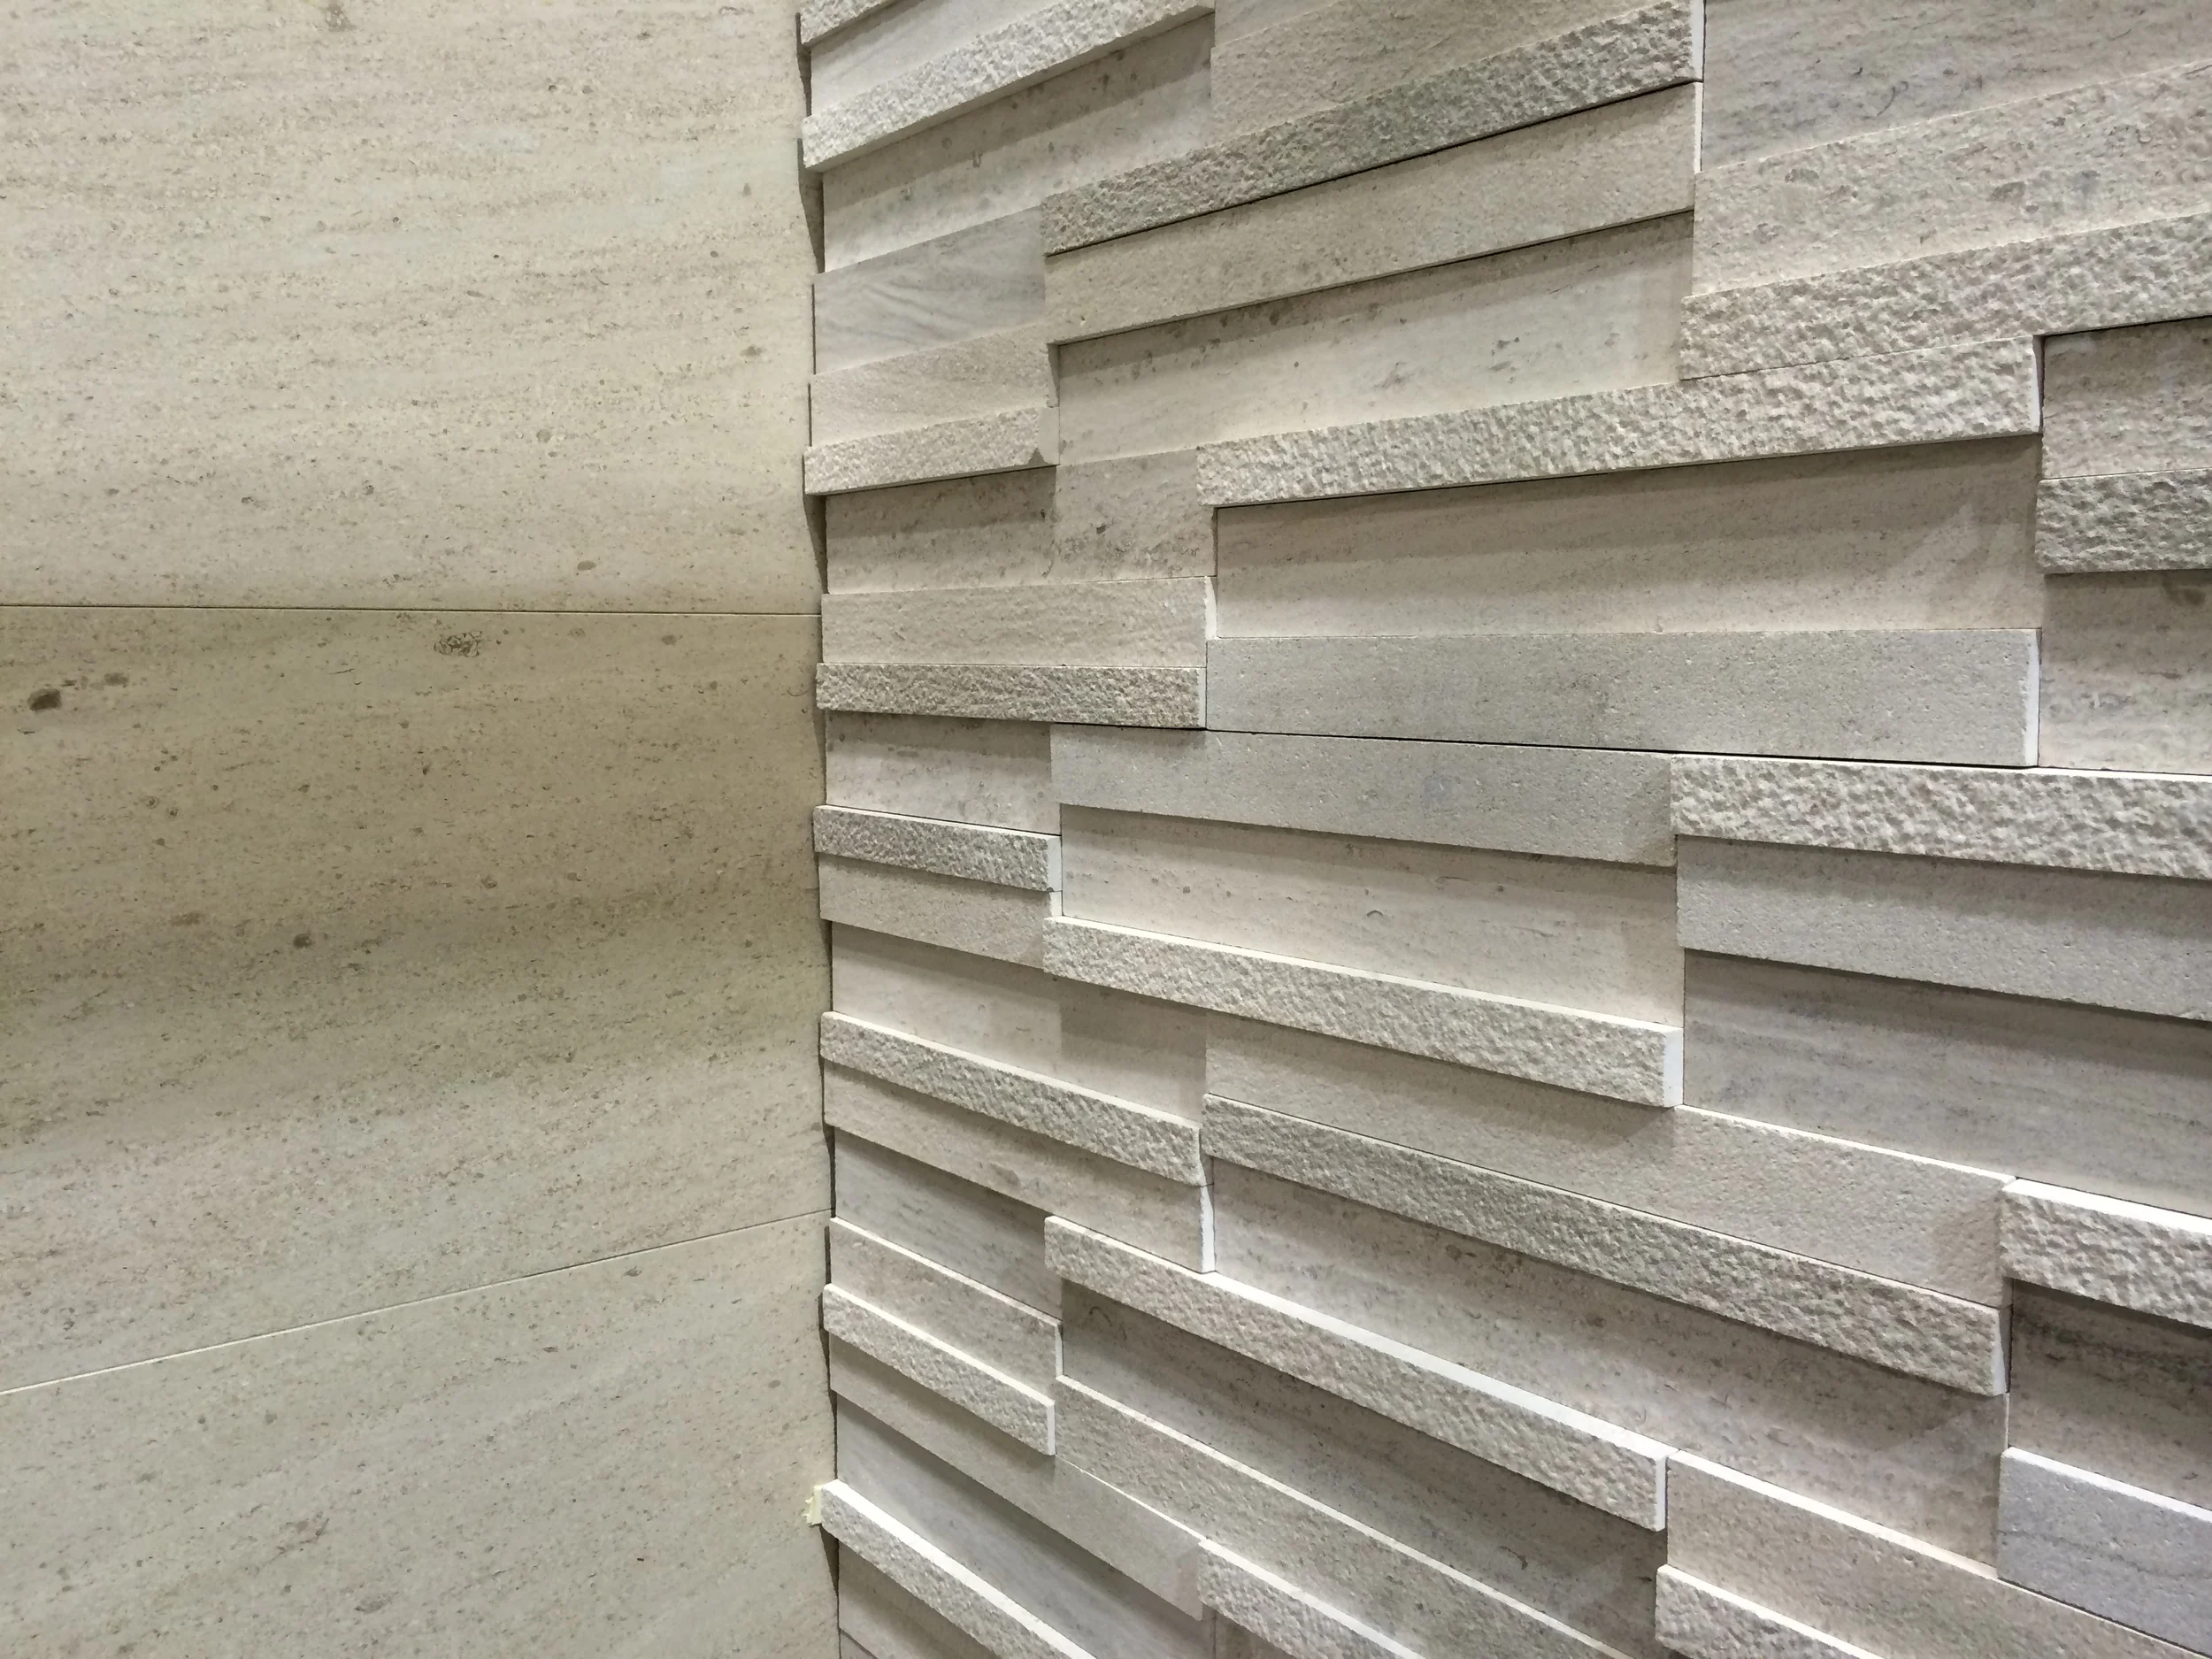
Finishes - This is an industry term for all of the pretty things you see. Like the paint color and the color of the cabinets, the tile design, and even the flooring and plumbing fixtures.
Some homeowners have a good eye and can probably do it themselves but it is always best to get a second opinion on this. A remodel on a house that isn’t going to be sold can be as eclectic or contemporary as you like and beauty is in the eye of the beholder. If the remodel is for the purpose of resale then make sure you pick finishes that are not too trendy. A trend “dates” a home and they are harder to sell later. It is worth it to hire a designer. Check their portfolio and their references too. Some designers might have a better sense of your style than others.Initial Design Meeting - Go over your goals, budget, and timeline. 1 week
Review Design Meeting - Go over floor-plan, cabinet design. 3-5 days
Additional Design Meetings - Countertop design, depending on your designer, might come before the cabinetry design. Selecting exotic stone for your home is one of the most fulfilling parts of doing a remodel. There are stones from Brazil and Italy that will blow your mind. There are also textures and edging profiles to consider when selecting a stone. 3-5 days
Final Design Meeting - Select Appliances. Select and sign-off on finishes such as colors, flooring, paint, lighting, and hardware. 2-3 days
Pull permits if needed - Permits are not always needed. This does not mean you should do work without checking. If you start work and a permit is needed you can be forced to stop and the project can come to a halt. Check with your city on the rules. Permits include things like electrical work, framing, and windows. If you are doing an addition your plans must be approved by the city and can take up to 6 months depending on the cities planning department and their backlog.
Place your Cabinetry order and Window order - These take the longest and will dictate the entire schedule. Go over every single detail with your designer and contractors. Sign-off on everything. These can take up to 6-8 weeks to build and deliver. If it’s “flat-pack” cabinetry it’s usually in stock but will be much lower quality. Custom cabinetry is made to order and takes time to build.
Demolition - If you’re doing a full remodel then you’ll need to demo everything. Not always down to the studs, but sometimes. Doing a demo yourself is also not always recommended because you can damage things that would need to be fixed and will add to the cost of the remodel. 1-2 days time.
Framing - If you’re adding a wall or knocking something out you’ll need to make sure everything is built back properly. This takes about 2-3 days depending on how much needs to be done.
Insulation & Siding - New exterior walls will need insulation. Interior walls don’t usually require it, but if you want to reduce sound travel it is worth it. 1-2 days
New electrical wiring - Depending on the scope of work, it might be advantageous to do this before the insulation and siding. Such as adding outlets to new exterior walls. Other electrical such as new lighting plans or new kitchen layouts shouldn’t interfere as they are internal walls.
Window installation - Window installation and siding of your home will happen at the same time. The scope of work will vary and could be 2-7 days.
New drywall and paint - Once all the electrical wiring is done you can close up the walls. This is the part in every remodel that is the hardest emotionally. Drywall takes a long time and only a little bit of work gets done each day. It’s messy, it’s hot and humid and it feels like the whole job has come to a standstill. I promise once all the dust is cleaned up you’ll feel 1000% better. 3-5 days
Flooring installation - Each type of flooring takes different amounts of time to complete. Pre-finished hardwoods vs un-finished hardwoods vs Tile (and depending on pattern) vs laminate vs poured flooring.
Cabinetry installation and cabinet hardware installation - Delivery of cabinets will take up a ton of room and the need to acclimate to your home for a couple of days. After delivery, the job can take 1-5 days depending on the level of complexity in the millwork
Countertop installation - Countertops need to be templated before they are cut. So after the cabinets are finished you can have your countertop fabricator measure the exact size and layout. 3-7 days turnaround depending on the complexity of your countertops.
Backsplash/Tile installation - If you’re using the same material as your countertops then this can go in at the same time. If you are doing a tile backsplash your design will dictate the installation. The install can take 1-3 days if each tile is hand placed and then grouting and sealing can take 1-2 days after that.
Appliance installation - Most of the appliances are electrical and should be able to be installed in one day. If your appliances are high-end like Viking or Subzero and need a water or gas line hooked up then it will take a little longer and have overlap with the plumber.
Plumbing installation - I cannot stress enough that you use a professional for this. You will need someone who is licensed bonded and insured. If something leaks, water or gas it can have serious consequences. Nothing is more heartbreaking than having a slow leak that ruins the brand-new remodel you just did.
Lighting fixture installation - Home stretch! Putting in new outlets and new light switches and lights is one of the last things that you have to do. 1-2 days
Cleaning - 1-2 days worth of dusting, polishing, and cleaning.
Enjoy and show off your new home! Don’t forget to invite your help! #actionplan #expertguidance #stepbystep #howto #remodelingahome #interiordesign #funfacts